I've been getting the man cave in order and I ran into a problem with my painting table. Most of the available "real-estate" was taken up by paint pots. So being the guy that buys first and thinks about it later I went shopping around to see what was available. I was disappointed to find nothing at all at my local hobby stores. So I turned to the google, and found one that seemed pretty neat but I decided against it.
The carousel was really cool, but it was almost 50 bucks, and still would have taken up space on my desk. I really didn't find any others that I would even consider. Next I checked around to see what other gamers had done. The 40k radio freeboota forums have a great thread on man caves that is several pages long. Most of the man caves had something like this:
The theatre seating style paint organizer, which is cool but I decided that what I really wanted was to get my paints off my desk all together.
This is what I ended up with:
Materials Needed:
3 Plastic Tackle Boxes (3 at $6 each)
1 Set of mounting hardware (97 cents)
Hammer
Pilot Nail (Slightly larger nail than your mounting nails)
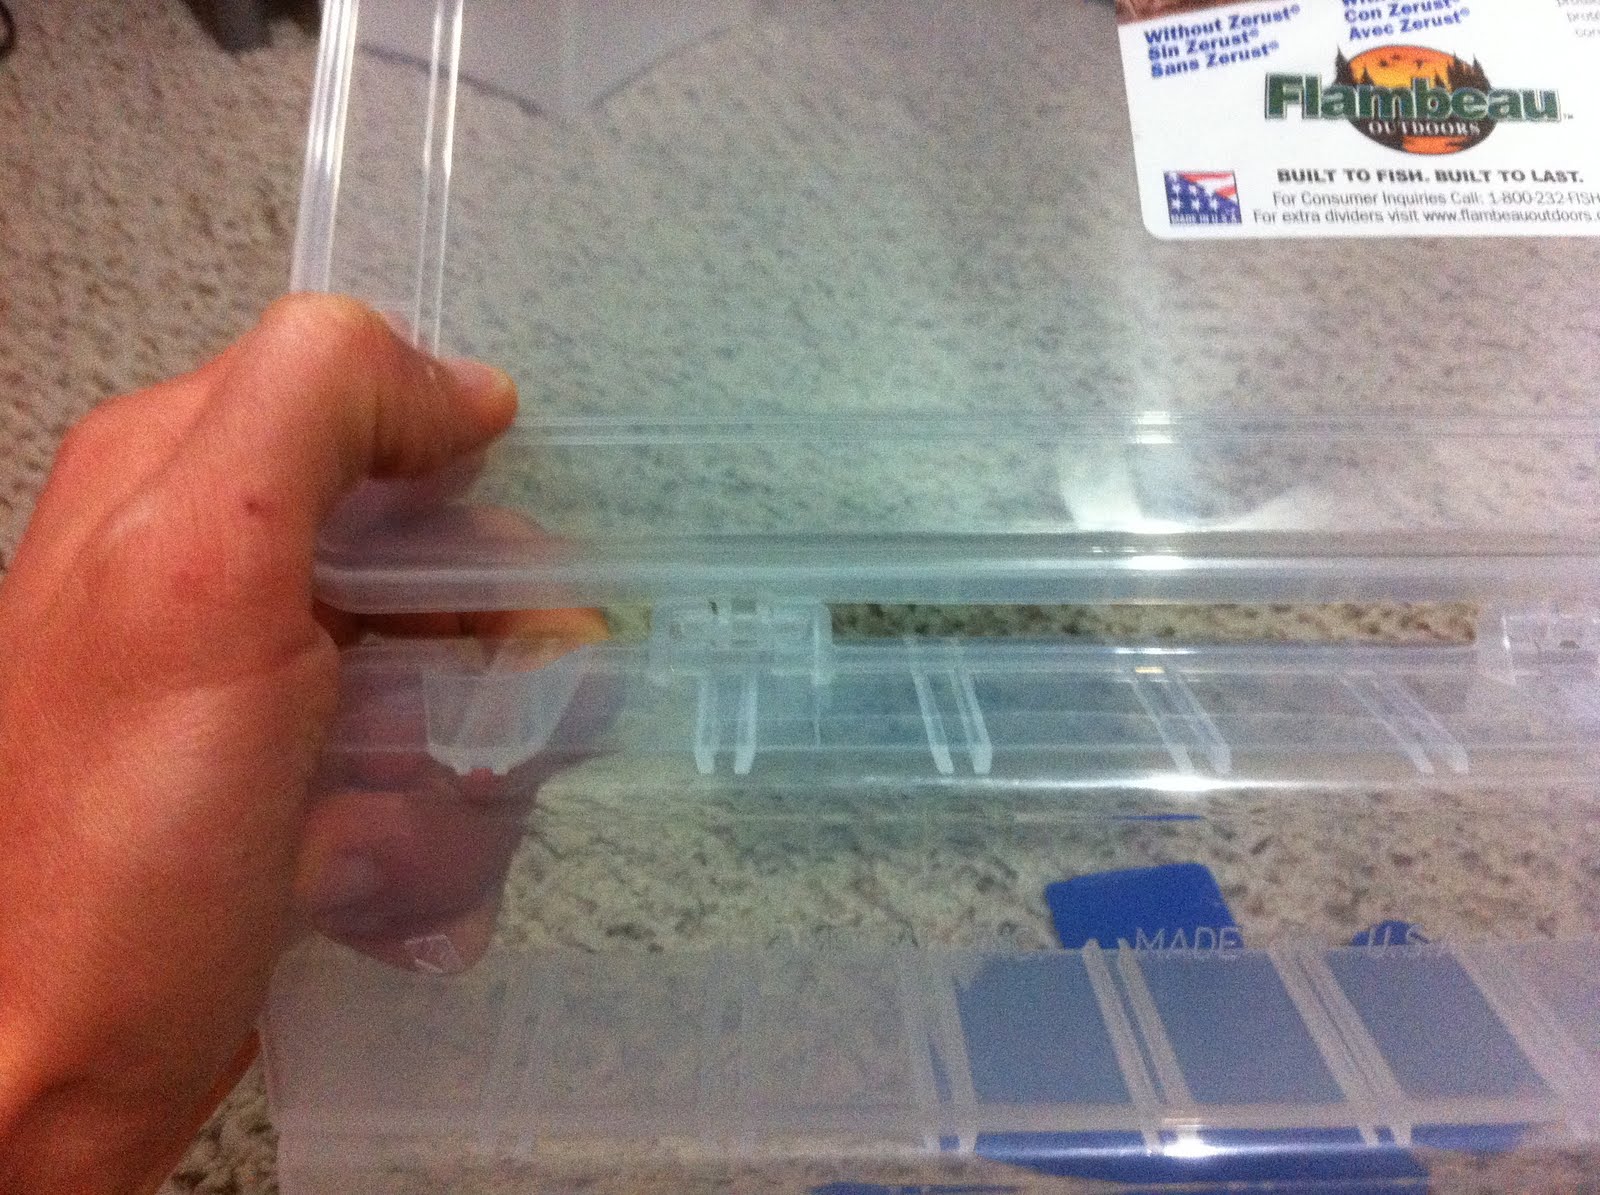
Yes its a fishing tackle box. I found a new gamer use for the tackle box. If you don't own any of these I got it for $6 at a large store that rhymes with Paul Blart. You can get these from pretty much any place that sells fishing supplies.
Step one. Rip the lid off, and put it in the recycling. You won't need it.
Next run a pilot hole into the two top corners. This is what makes your tackle box into a wall mount rack. You really don't need to swing hard to drive the pilot nail through.
I found the easiest way to mount it was to place the mounting nails in the mounting points you just created before lining it up on the wall.
These little dividers can become your shelves if your paints are too tall for you to mount the rack horizontally.
This is your finished product.
I mounted three of them. It looks really slick and grand total ran me $20 for this enormous paint rack. I hope this DIY was enjoyable and informative. Feel free to comment, and let me know how I'm doing.